
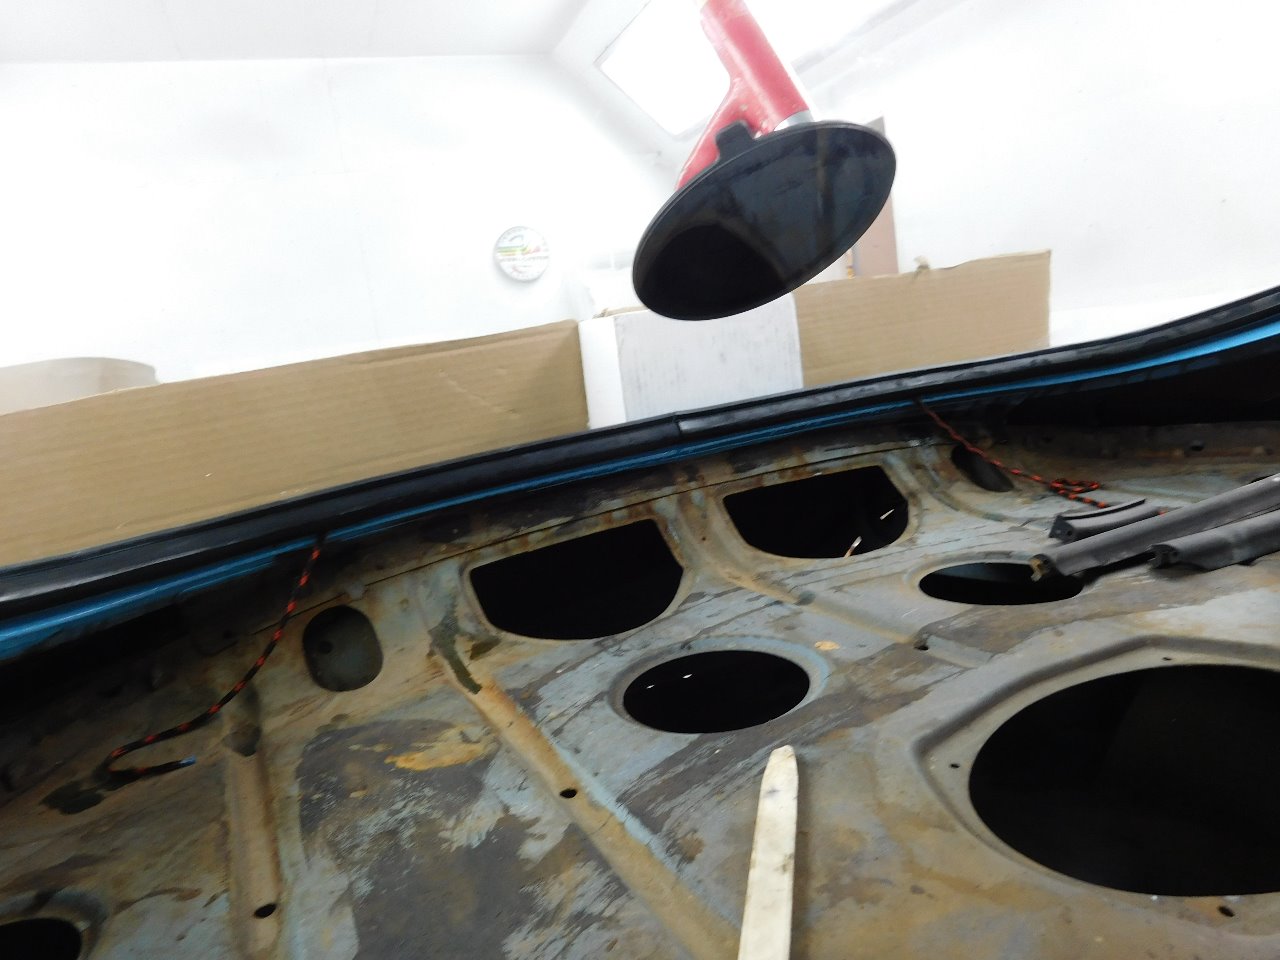
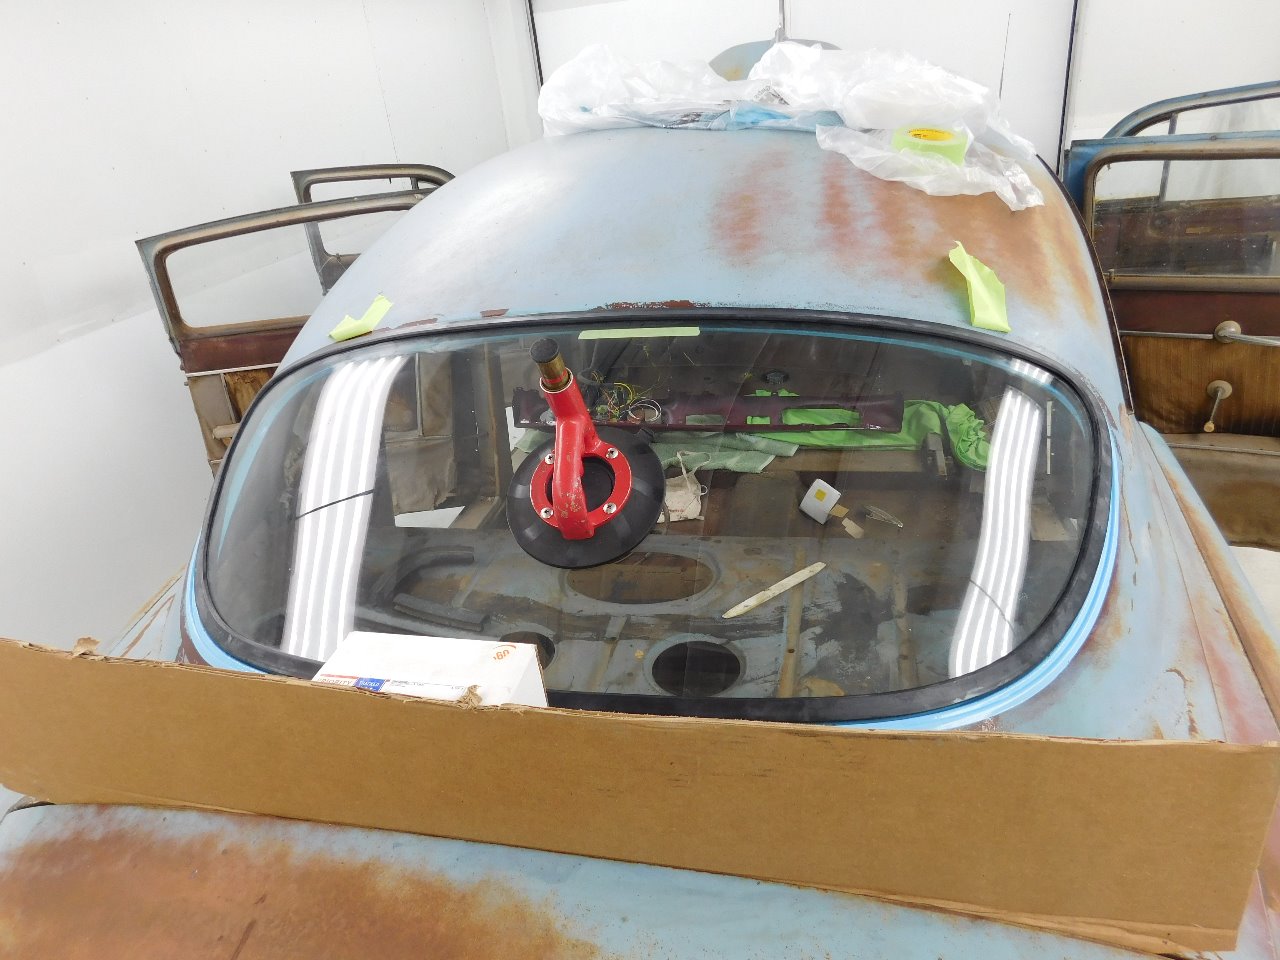
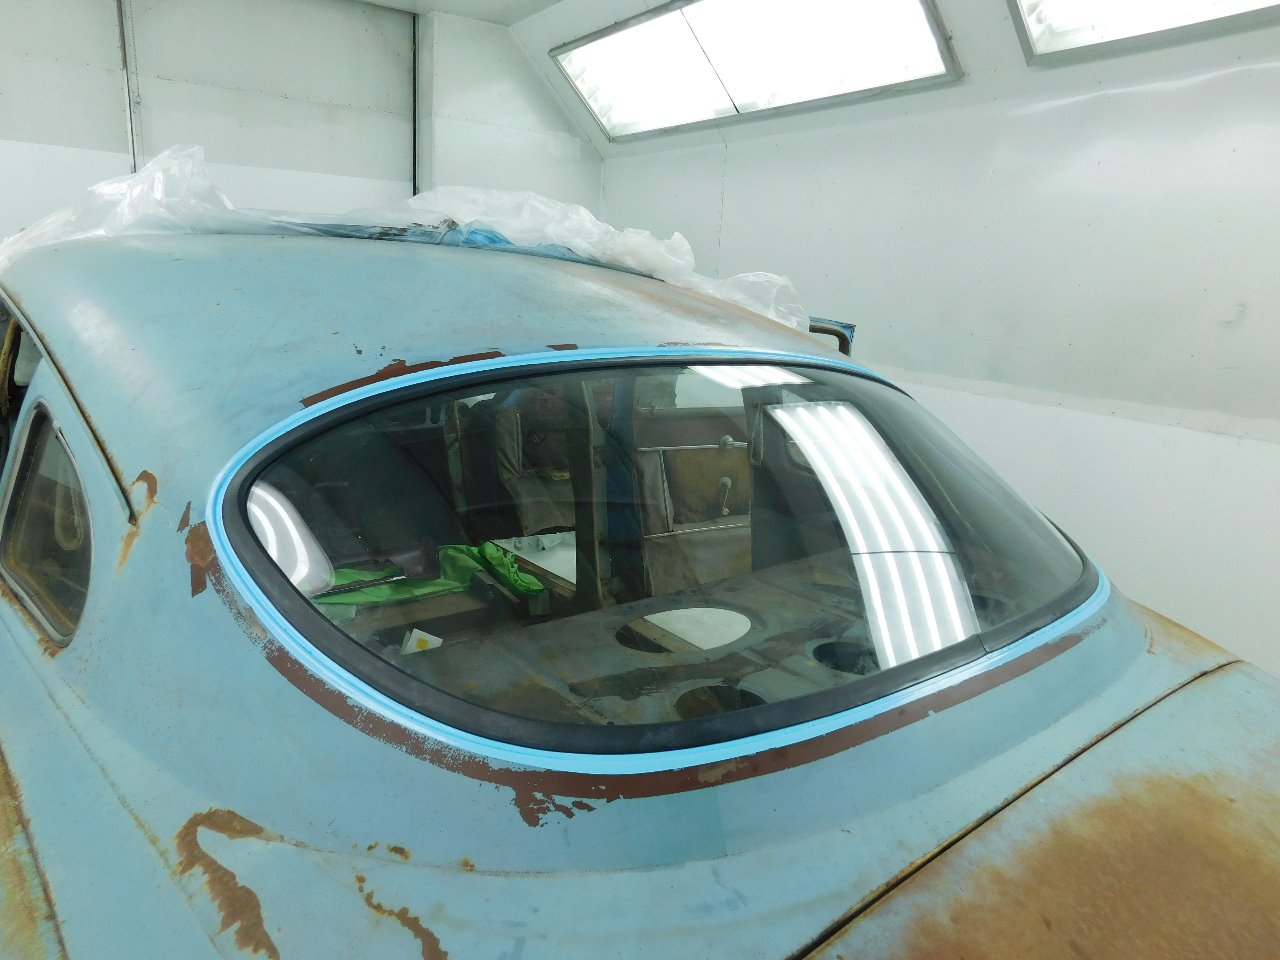
51 Pacemaker rear glass install. Did not use sealer as the headliner will need to be installed down the road and back glass will be easier to pull back out
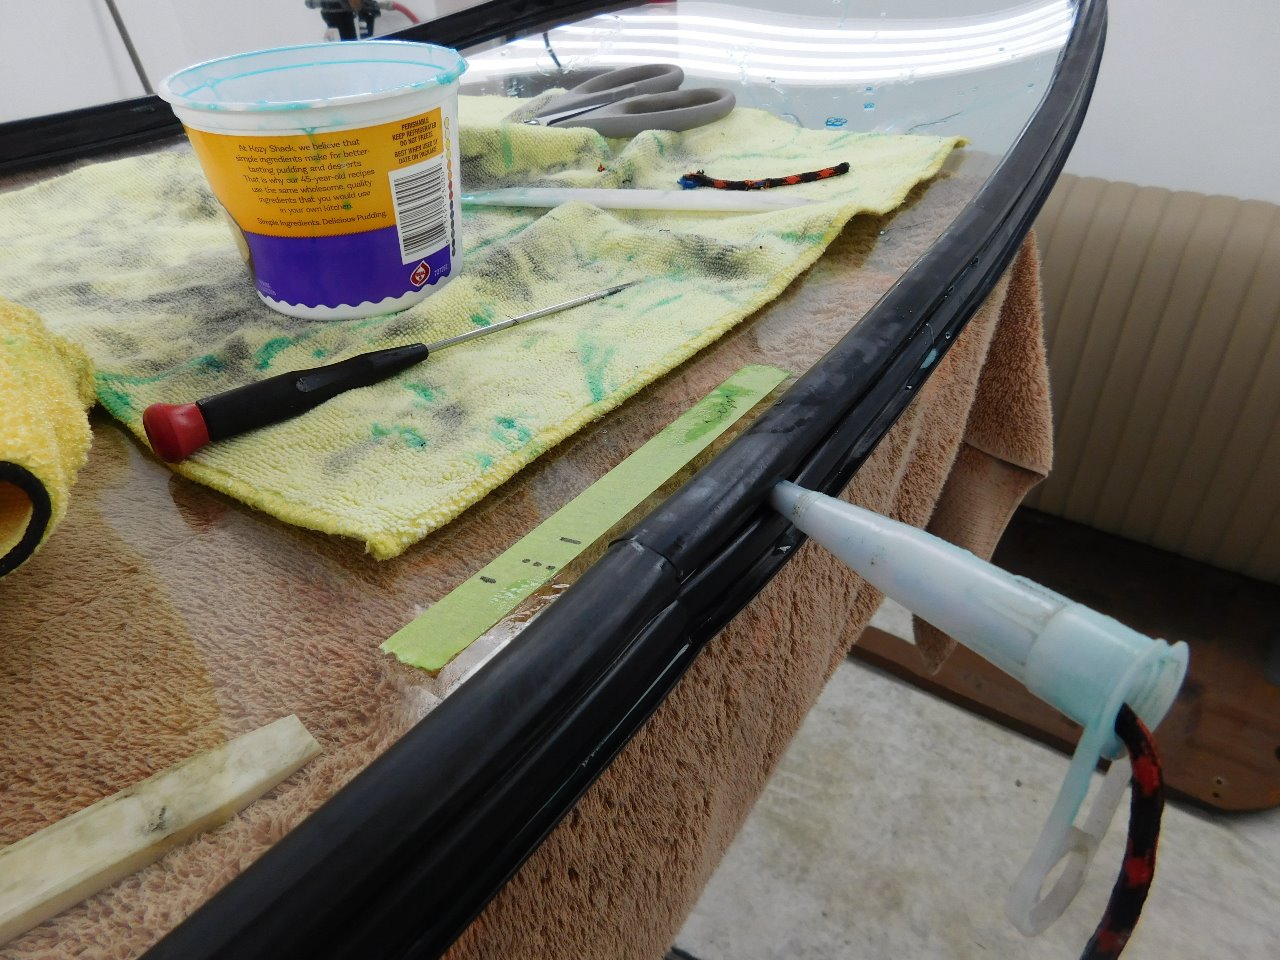
Nice job Kerry. Something else to remember, even though the shop manual and body books show you can install the stainless around the window afterwards, it is highly recommended you install it before you install the glass. I expect it would be much easier if you have the tool shown in the picture-
Or if your like Kerry, you will just make the tool!!! Kerry has shown us many specialty tools he has made for working on Hudsons! Way to go Kerry!
Thanks Doug, The same type of stainless trim install is also necessary on Studebaker Hawks. People try to install them after the window is in place and it is near impossible. Usually they bend/dent them up trying to get them in that way.
A lot of things have changed since these cars were made, sometimes you can't always follow the manual.
I have found your rubber seals to be a spot on fit.
Doug, should the front window stainless also be installed prior to installing front glass? Thank you. Without your information I probably would have messed up the trim trying to install trim after glass.
Yes Lee, but the frt. windshield installs are different yet. The stainless on the frt. W/S's on vehicles equipped with stainless from '41 to '53 require a different W/S gasket. The stainless has to be installed prior on the body pinch weld. The '41-'47 vehicles have stainless on the pinch weld but there is no stainless in the middle divider, thus requiring a different extrusion and procedure. The center divider on '41-'47 has a metal strap- for lack of better description- running vertically. This strap like diver was started in '36 models, and gets sandwiched in between the inside divider and outside chrome. This piece must be sealed into place because of its design. When you removed this piece, you should have noticed there was solid tar looking substance?. That was pliable butyl at some point in time, now usually just hard as a rock. We recommend removing it completely, and starting with fresh material. Do NOT USE Hard setting urethane. This is a product used on all new cars, not recommended for these cars.
Once the windshield gaskets have been cut and installed onto the glass, vehicles with stainless around the windshields, apply a thin 1/4" bead of butyl on the inside completely around the stainless, '48 -'53 and on the stainless '41 - '47 ,which is less division bar. We always use a little extra in the corners to allow for voids in the body. On '36 -'47, the division bar must be sealed into place to insure no leaks.We take this outside chrome divider and literally apply a generous amount of butyl around the 3 screw holes, and also apply a bead on the outside down both sides of the division bar strap. It should ouz out around the edges completely as you push the piece on.
CLEAN-UP. After the windshields have been installed as per the shop manuals, with your rubber gloves on, a trash can close and a roll of paper towels handy, start wiping the excess butyl from around the stainless on the outside, trying to leave a nice, smooth bead completely around the rubber and glass when done. We try to wipe as much of the excess off with paper towels and/or rags before introducing any type of cleaners. Once we have done that, we have found using wax and grease remover to do a final clean works well. The butyl will somewhat skin over in a few hours and creates a soft, cured surface. It is not uncommon to find a few places that continued to ouz overnight and requires a little re-cleaning with wax and grease remover.
** - A Strong Note: about using wax and grease remover. It seems to work the best, is time consuming, so be patient, but will not attack most finishes. Using brake cleaners, carb cleaners or other like products are NOT recommended, as they WILL remove the paint and anything else!
NOTE, to insure a good seal when re-installing, always make sure any old butyl has been scrapped and/or removed from the inside of the stainless trim.Sometimes it requires rather aggressive chipping, so be careful not to poke or jab the headliner and/or yourself! This will allow the glass and new rubber to find a clean seat to compress against. Any old butyl, usually hard as a rock, somehow will cause interference and will not allow you to position where it needs to be. Of course inspect this closely while the glass is out. It is also a good time to shine/polish the stainless edges.
If you have never done this job, you might want to install/pre-fit each half of the W/S before applying any butyl to see how it fits and installs for you. It is almost imperative you have a helper, one to hold the glass in place while the other person installs.
** - I have been trying to get caught up in the shop and plan to start doing on-line video's of "How-To" installs of our rubber products and.other related procedures.
Thank you Doug. This couldn't have come at a better time as I am cutting rubber and installing windshields in my 40. And, I was going to use urethane and not butyl, so now I will use butyl. I was told the windshields were originally glued in thus the urethane..................
