
Hello Hudsonites,
Can you help me out regarding the dimensions of the dowel bolt (lower right side of the bell housing)?
I've just found out my 1953 Hornet (308ci w/ 3 SPD and overdrive) has always missed it. It might be the culprit of the neverending clutch problems I'm experiencing since I've had it. The top left dowel circle is still in place though.
If someone could measure me the dowel diameter and lengths that would be awesome. I'm planning to machine it from a larger bolt to those given specs and probably thread it the to closest metric size.
I might create another subject on the problem itself but here it is:
My last post on this forum was 4 years ago regarding a dragging clutch.
What have been done so far:
- new bellhousing bushings
- rectified cross shaft & cross shaft frame mount
- new engine and trans mounts
- new pilot bearing
- NORS clutch disc
- 1/3 pint DEXRON II ATF
The pressure plate has been checked by a local clutch shop. They told me it was good to go.
Now it seems to work much better than it did earlier but I sometimes have to double clutch to put it in reverse or back in low gear.
For now the car can't drive out of my warehouse since it has no brakes or insurance. I've tested it driving it back and forth a few meters, putting some constraint to the driveline by going over the bump of my two columns elevator.
When the clutch assembly has worked the car on to the bump I still can go to neutral but then I can't engage low gear again or any other gear without double clutching. If I don't the trans gears are grinding.
Obviously I can't see inside the pressure plate but it feels like the disc tilts and does't pops off. Doesn't it look like a misalignement?
Anyway I can deal with double clutching if that solves the problem but I bet I shouldn't have to.
Any other lead is welcome 🙂
Have a great day and thanks already!
Thib
Belgium
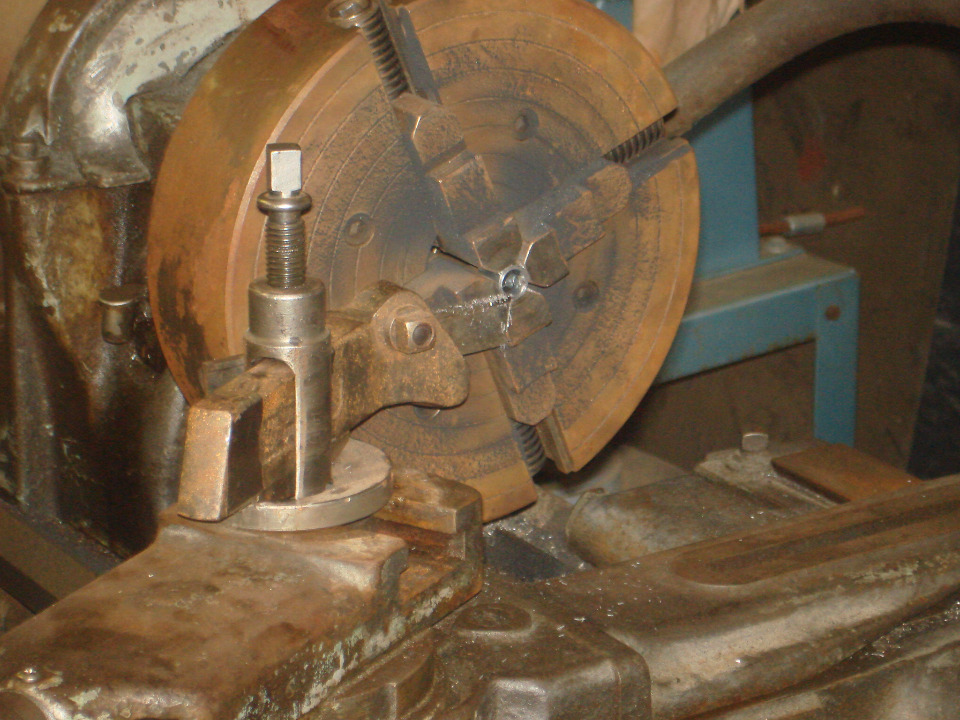
Bonjour Thibault, est-ce la bague dont tu parles? Il y en a deux, ils sont ajustés à la presse dans le bloc et le carter d'embrayage. Ils s'assurent que le carter d'embrayage et la boîte de vitesses sont concentriques avec le vilebrequin. Ils sont en acier, diamètre extérieur environ 0.627 " (15,92 mm), le diamètre intérieur est de 11,5 à 12,5 mm. J'ai fait une de ces bagues pour un autre Hornet. Je pense que vous avez un tour à métaux? Cordialement, Kenneth


Merci Kenneth, oui je parle bien français. Je vais plutôt essayer de répondre en Anglais pour que les autres suivent 😉
Which year is that block? In the 1952 shop manual they're talking about a dowel circle (hollow dowel) for the top left location like you kindly pictured.
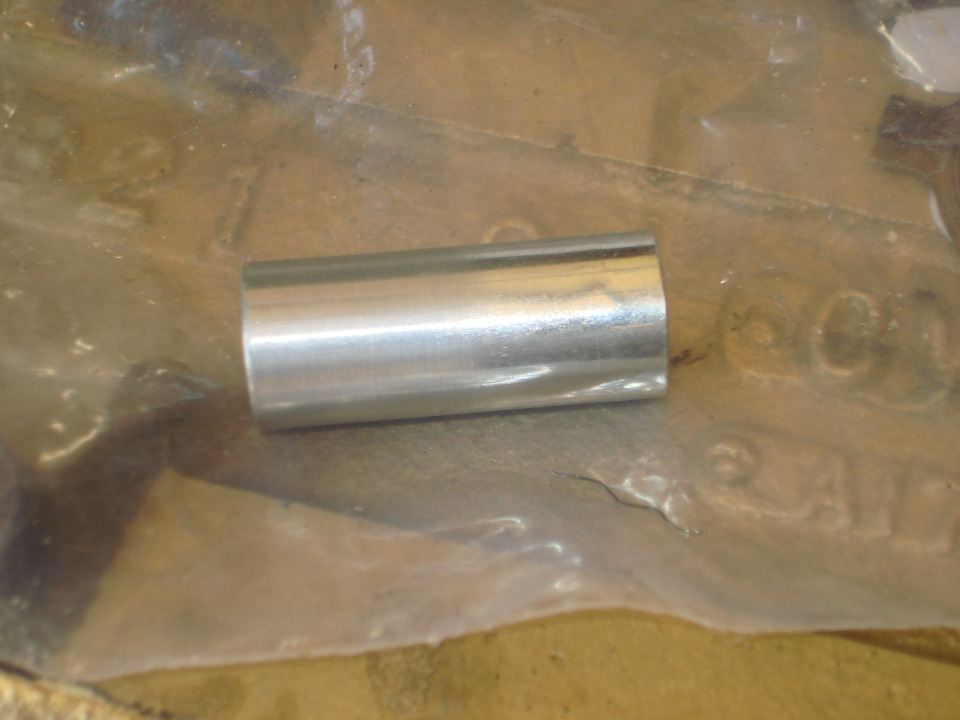
On the lower right side though it should be a dowel bolt. I actually had that kind of bolt in mind: [img ]  [/img]
Am I wrong?
I believe all 308 blocks 1951-56 have the dowel sleeve in the lower right corner.. IT IS SO EASY TO CHECK THE DIAMETER. Use a machinist's dial caliper set to measure the bore of the hole in the block and the bell housing, and either use a sleeve or make a sleeve to press onto the shoulder of the bolt, it must be either exactly the same diameter of the hole, or a slight press-fit.
I have those in stock.
Hello Thib, when you say the local clutch shop checked the P/pl. and said it was OK. How did they determine it was OK?. I'm curious to know? It really sounds like the clutch disc is NOT dis-engaging properly, causing the grinding. There are several reasons that can cause this. Is the trans installed back into the car again?. If you have the floor pan removed, if you can, take a picture looking down into the center of the bell-housing of the throw-out bearing and yoke engaged.
If you don't have the floor pan removed, can you remove the flywheel inspection cover, take a picture looking up from the bottom, trying to get a picture of the same yoke and throw-out bearing. The problem is likely the P/pl. but not certain. A few other questions, did you check and verified by sliding the clutch disc onto the input shaft before assembling, making sure it slid smoothly on and off the length of the 6 splines?. If the input shaft is slightly twisted, it can cause exactly what you are experiencing. Usually when the input shaft bends/twist, which does happen, it's twisted just past where it engages, thus NOT allowing the disc to release all the way, even though it is adjusted with the correct amount of free-travel in the pedal, as per the shop manual. This becomes very apparent, especially right after the clutch disc has been replaced. The reason for this is the replacement disc is thicker, making it locate further to the trans., subsequently right where the twist begins. I hope this helps.
Hi Doug,
Thank you for intervening.
Well this dates for some years now but I believe he checked the height of the fingers with the p/pl bolted on the flywheel. The fingers themselves look good.
I have an other set of flywheel and p/po. Maybe I should have them checked and repaired to an other place I know just to be sure it's correct. I believe a difference in height in the fingers will release the disc unevenly.
Prior to the installation I checked the disc on the input shaft and it was travelling smoothly. It's sticking to the shaft when I slide it to its end where the splines are smoothing out (the trans side if you prefer).
The gearbox is in place with the floor pan removed so I'll have the picture you're asking for.
If you are checking the finger height using a flywheel and pressure plate, you must have something in place that simulates the clutch disc. If not, your wasting your time, no way to measure the height correctly. Also, when measuring the height and using something like a good clutch disc, first check the thickness of the plate and if it is the same thickness all the way around. This measurement has to be uniform across the face, not just on the outside edge. The book calls "discard and replace if the disc thickness is .160 or less. You also need to use a p/pl. gasket when checking the finger height. Using the shop manual, the installed finger height can not be less than 1.250, and can not be more than 1.500. With this info, if the disc is on the thinner side of exceptable thickness, the finger height measured from the top edge of the p/pl.as per shop manual, will be less, the thicker the disc, the finger height will be lower, closer to the 1.500. also something to take into consideration. When you clean the pressure plate of all the old grease and old, it usually looks great! This means nothing!, these clutches run in oil, and when cleaned, seem to clean up nicely. There is no way to determine wear unless you take it apart, check the pivot pins and the pivot lugs. Also, it is always good to check and visually inspect the top of the pressure plate cover, insure it hasn't been damaged or bent. This edge around the throw-out bearing hole is a critical measuring point, and if damaged, will not allow the proper height from cover to the fingers to be checked. Also, if the fingers are worn partially on the face, which is very common, it is very difficult to get a correct reading on finger height, subsequently difficult to set properly.
Back to the picture, if you are looking down into the top of the bell-housing at the throw-out bearing, you can see where the cross-shaft yoke engages against the t-bearing. As a general reference, where the yoke makes actual contact with the throw-out bearing, it is about the top of the pressure plate. This means you can see some of the throw-out bearing sticking out of the P/pl. before you depress the t-bearing. If the yoke is engaged further than that before the pedal is depressed, likely the P/pl. is not set up correctly, but this is only a quick reference. Since you have the floor pan out, it is also very easy to check for the another real possibility of concern. Provided you have adjusted the clutch pedal for proper free-travel as described in the shop manual,and are positive all the bell-housing bolts are in place and tight, sit in the car, depress the the clutch pedal and VERIFY the bell-housing is NOT cracked. If it is cracked, the crack opens up instead of the pr/pl.being depressed, thus causing lack of dis-engagement and grinding of gears. Most the time when the bell is cracked, it is on the right side, looking from the back of the trans forward. Look very close, sometimes hard to see it open and close. Hope this helps.
Hi Doug,
I asked a friend to press/depress the clutch pedal while I was looking for a crack in the bellhousing.
I haven't found any.
Here is a picture of the throw-out bearing seen from one of the bellhousing windows.
Is it correctly protruding from what you can see?
I'll have the pressure plate rebuilt next wheel. The shop will get a flywheel, the actual p/pl, a gasket and a clutch disc. Plus the control procedure and tolerances as found in the manual.
Thanks!
Thib
EDIT: Doug, you're having 666 posts on the forum right now. Should I be worried haha?
